

The Jeep Wrangler is one of the easiest tow behind vehicles available today. You pretty much put the transfer case in neutral and off you go. What’s left to do now is a to find a way to attach it to the motorhome and rig a system to activate the brakes and taillights. I’ll get to that in a future post but the former has led me to seek out installing a tow bar base plate kit or better yet a bumper that has D-ring mounts that adapters can be made to fasten to the D-ring mounts on one end and the tow bar on the other end. I chose the bumper as I could mount a winch inside of it, further enhancing the off road capabilities of the Jeep. Thinking ahead of places we may travel to, I may like to venture further when the pavement ends.
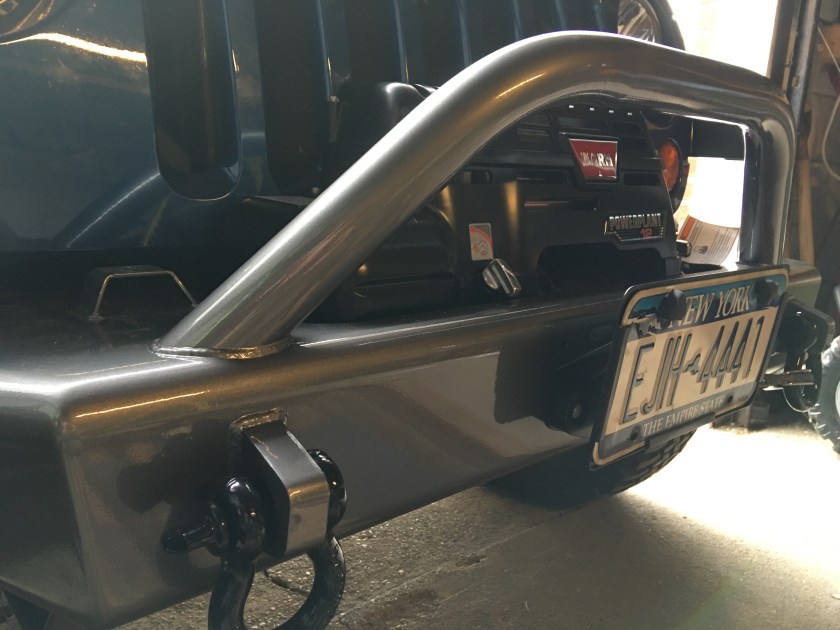
I found a great deal on a set of Shrockworks bumpers and sliders through a third party that was stuck with the items after a customer never showed. The installation was pretty straight forward. Shrockworks made it possible to utilize a lot of stock holes and mounts with little drilling. I installed a Warn Powerplant Winch inside the bumper in case I might need to rescue myself or somebody else out on the trail. I opted for the 12,00o pound size on the winch as if I used a snatch block I could double the capacity of the winch, say a 24,000 pound motorhome. I swapped out the winch cable with Viking Synthetic Winchline that’s lighter, stronger and safer under tension than the winch cable. This led me also to replacing the Warn Winch Hook with a Viking one to accommodate the larger thimble and an AEV License Plate Kit was necessary since I lost the plate mount with the old bumper.
I also installed a Shrockworks rear bumper as well which has integrated back up lights which greatly help at reversing at night. The rear bumper was even more straightforward than the front one and had a cutout for the trailer connection.


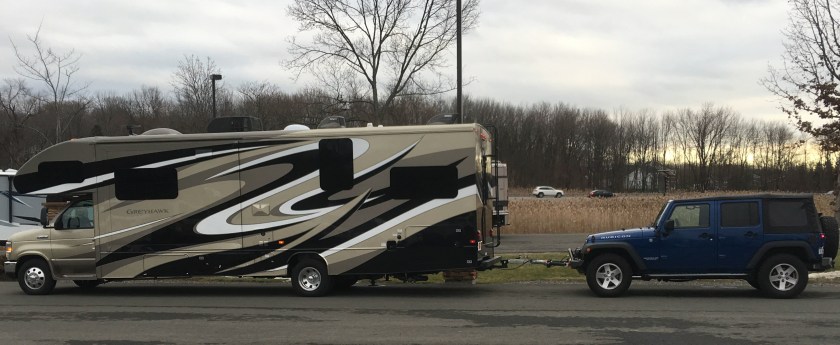
I also received Shrockworks Rock Sliders with that I mounted as well. The pic below shows the sliders installed as well as how the Jeep hooks up to the motorhome. It’s taken from some distance away but it helps illustrate the whole picture and why I went with the front bumper install.
Also check out the video below documenting the install. I find that when I’m in the thick of it working on things sometimes I either forget or forego the camera as I get so engaged in the task at hand but I think this combination of stills and short video clips serves to at least highlight these mods. Thanks for stopping by.
